Overview
The following documentation aims to educate you on building a native mobile application on Flow. It first presents Monster Maker, a starter project we've built to represent simple Flow mobile concepts. Next it presents various developer resources related to building mobile native Flow applications.
Monster Maker

Monster Maker is a native iOS app that allows users to connect a wallet, sign a transaction to mint an NFT (a monster) and display their collection of NFTs (their monsters) within the app. It's meant to be a lightweight sample project to exemplify how to build a mobile native Flow project. If you're looking to build a native mobile application for Flow, exploring the Monster Maker code base first or even building off of it is a great way to get started.
Github Repo
The Monster Maker Github Repo can be found here:
https://github.com/onflow/monster-maker
Building to Device
Before you run Monster Maker on your device, please make sure you have installed the Xcode14 from Mac App Store. Once you clone the repo, open the MonsterMaker.xcodeproj under the iOS folder.
Xcode should automatically setup the project for you. If you do see any error related to dependencies, run Xcode Menu -> File -> Packages -> Reset Package Cache to resolve the issue.
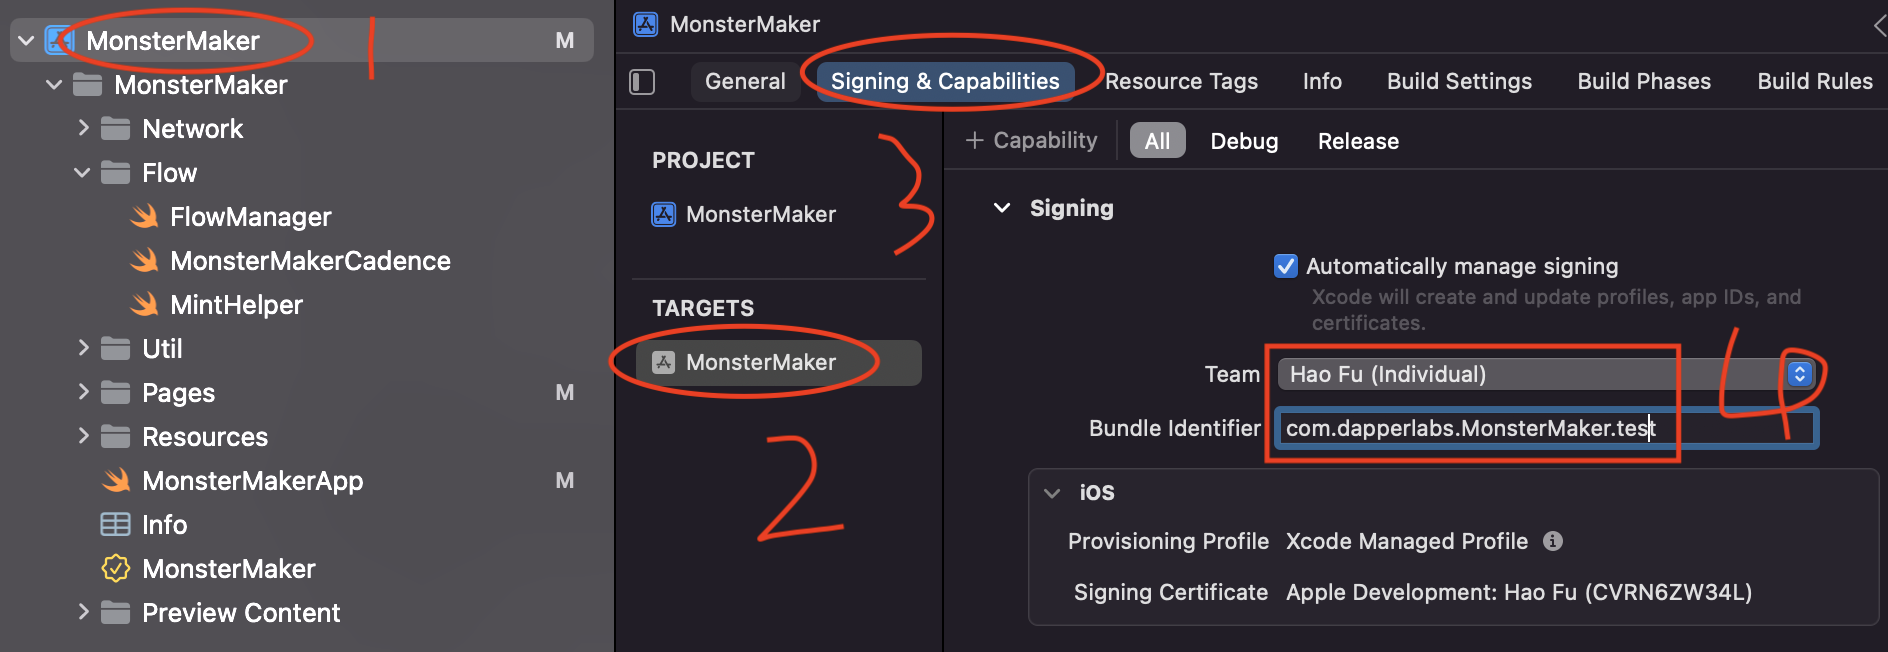
In the meantime, you can choose a simulator or your iPhone to run. For more detail here is the official doc. For run in real device, there are a few steps to deal with signing:
-
Add your apple account to the Xcode which can be accessed from
Xcode Menu -> Settings -> Add account. -
Change the Team to your Personal Apple account from the Signing & Capabilities under the project target menu. For more detail, please check the screenshot below.
Connecting to a Wallet
To connect with wallets, there is native wallet discovery in the app. Once you click on connect, it will bring out the list of the wallets which support HTTP/POST or WC/RPC method.
FCL Config
To make sure, the wallet can recognise your dApp, there is a few field you will need to config before connect to a wallet. The account proof config is optional. In addition, you will need to create a project id from walletconnect cloud before you can connect to the WC/RPC compatible wallet such as Flow Wallet.
_29import FCL_29_29// Config the App_29let defaultProvider: FCL.Provider = .dapperPro_29let defaultNetwork: Flow.ChainID = .testnet // or .mainnet_29_29// Optinal: Config for account proof_29let accountProof = FCL.Metadata.AccountProofConfig(appIdentifier: "Monster Maker")_29_29// Config for WC/RPC compatible wallet_29let walletConnect = FCL.Metadata.WalletConnectConfig(urlScheme: "monster-maker://", projectID: "12ed93a2aae83134c4c8473ca97d9399")_29_29// Config basic dApp info_29let metadata = FCL.Metadata(appName: "Monster Maker",_29 appDescription: "Monster Maker Demo App for mobile",_29 appIcon: URL(string: "https://i.imgur.com/jscDmDe.png")!,_29 location: URL(string: "https://monster-maker.vercel.app/")!,_29 accountProof: accountProof,_29 walletConnectConfig: walletConnect)_29fcl.config(metadata: metadata,_29 env: defaultNetwork,_29 provider: defaultProvider)_29_29// Import keywords replacement for cadence query and transaction_29fcl.config_29 .put("0xFungibleToken", value: "0x631e88ae7f1d7c20")_29 .put("0xMonsterMaker", value: "0xfd3d8fe2c8056370")_29 .put("0xMetadataViews", value: "0x631e88ae7f1d7c20")_29 .put("0xTransactionGeneration", value: "0x44051d81c4720882")
Open wallet discovery

In Monster Maker, the Connect button triggers opening of Wallet Discovery
For the wallet support HTTP/POST, it will use webview to show the following actions.
For the wallet support WC/RPC, it will use deep-link to the wallet for actions.
You can open the native wallet discovery to make the selection, but also you can connect to the specific wallet as well.
Here is the code snippet of it:
_10import FCL_10_10// Open discovery view_10fcl.openDiscovery()_10_10// Or manual connect to specific wallet_10try fcl.changeProvider(provider: provider, env: .testnet)_10try await fcl.authenticate()
Signing a Transaction
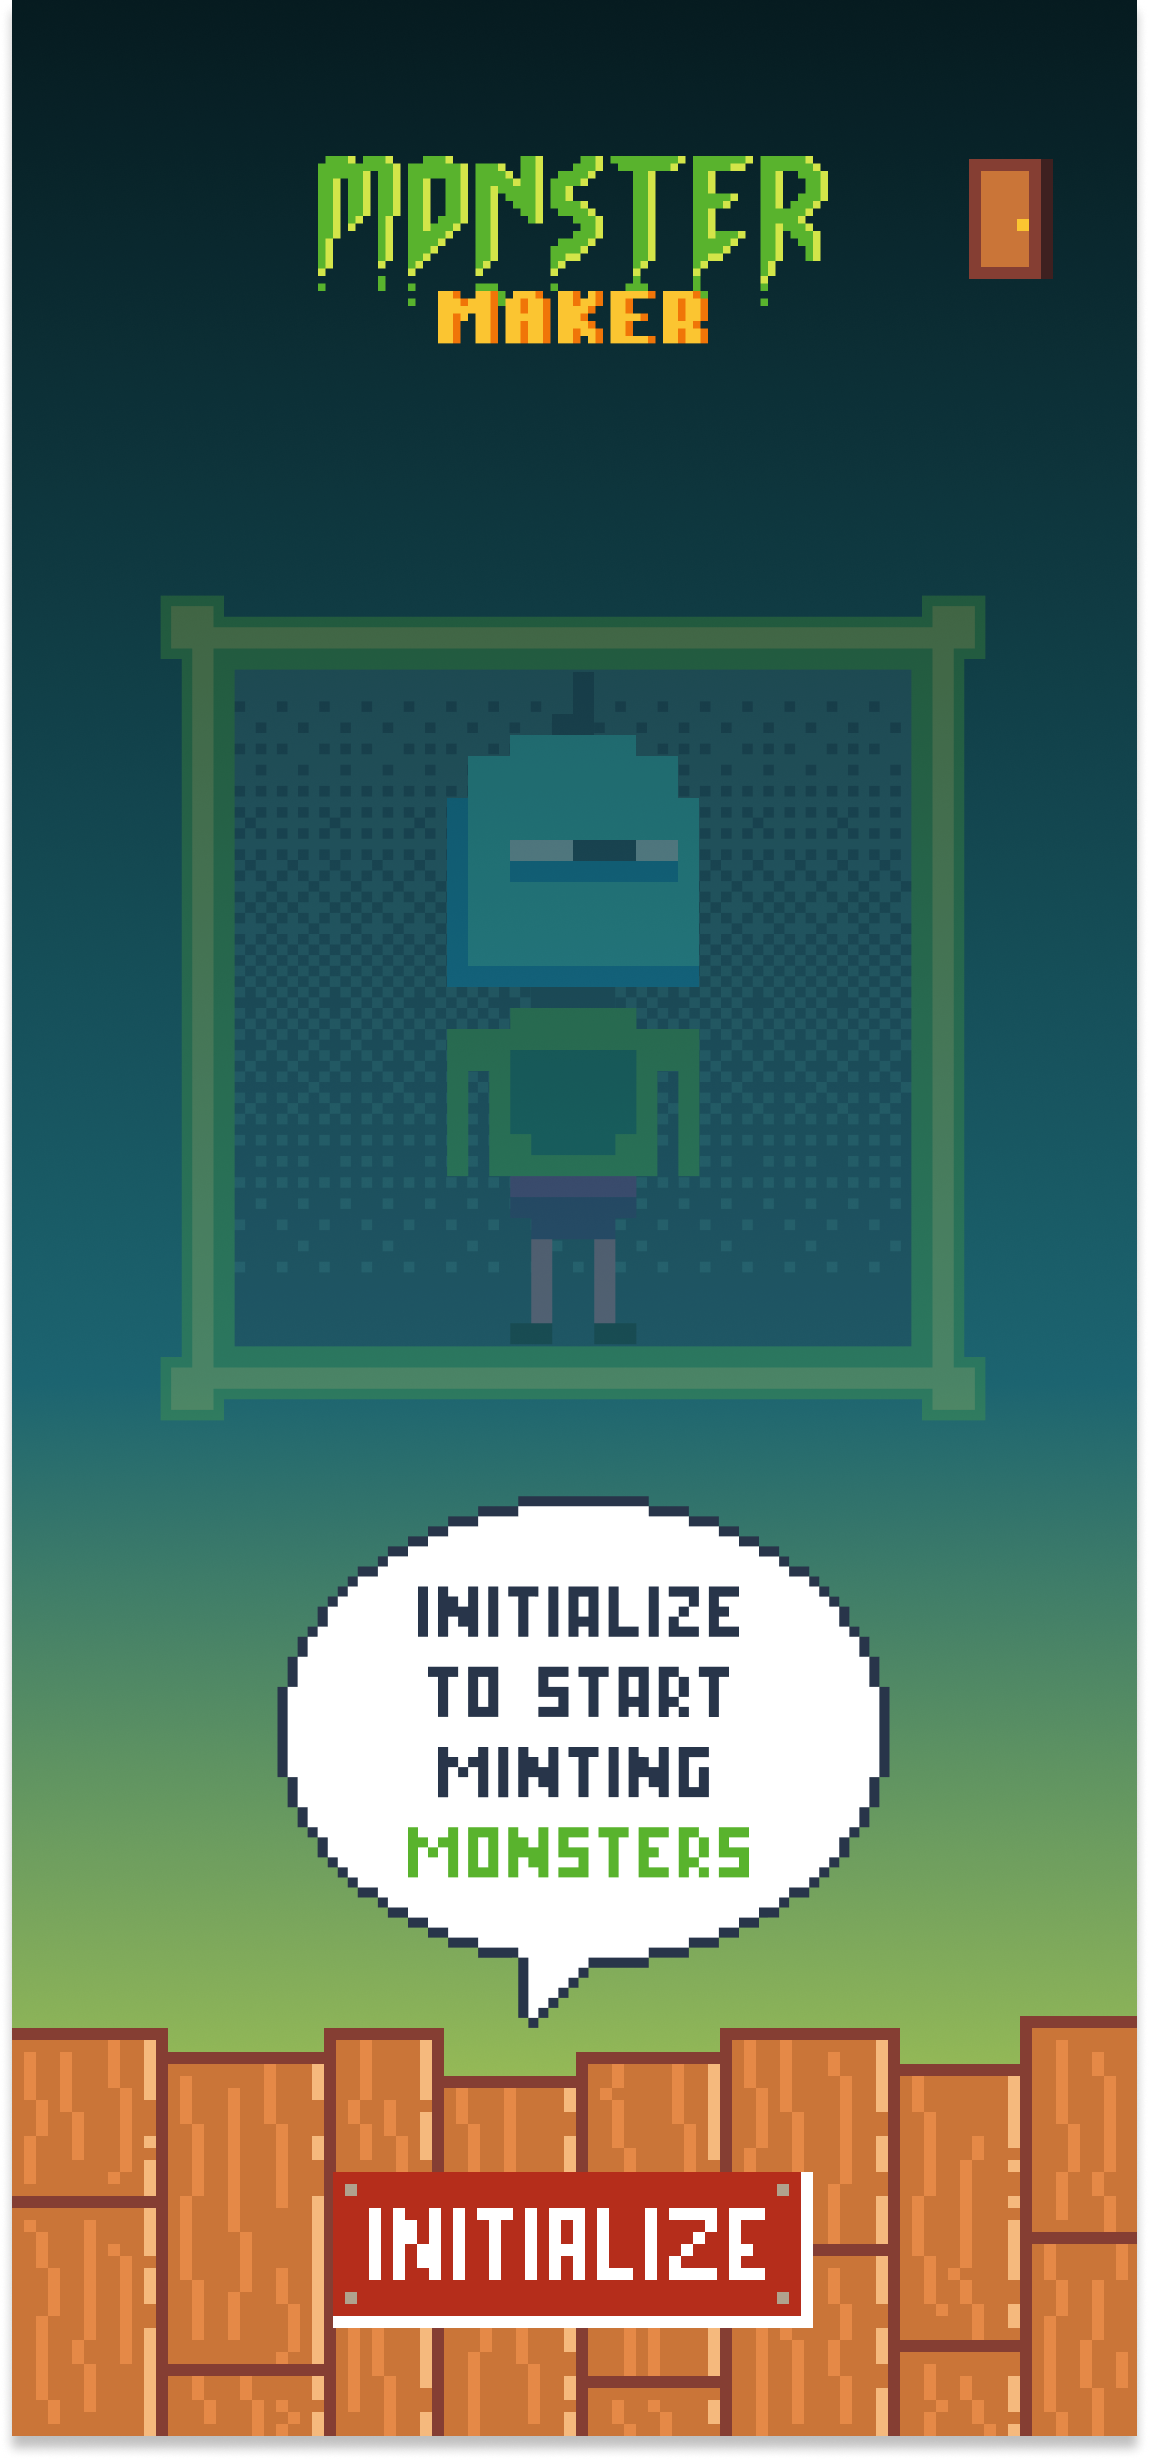
In Monster Maker, Initializing the NFT collection with the Initialize button triggers a transaction.
Similar to what we have on fcl-js, native sdk also use query and mutate for on-chain interactions. To request a signature from user, you can simply use fcl.mutate method. By default, the user will be the payer, proposer and authorizer, if you want to add custom authorizer please refer to the code from Server and iOS end.
_23guard let user = fcl.currentUser else {_23 // Not signin_23 return_23}_23_23let txId = try await fcl.mutate(_23 cadence: """_23 transaction(test: String, testInt: Int) {_23 prepare(signer: &Account) {_23 log(signer.address)_23 log(test)_23 log(testInt)_23 }_23 }_23 """,_23 args: [_23 .string("Hello"),_23 .int(10)_23 ],_23 gasLimit: 999,_23 authorizors: [user])_23_23print("txId -> \(txId)")
View NFT
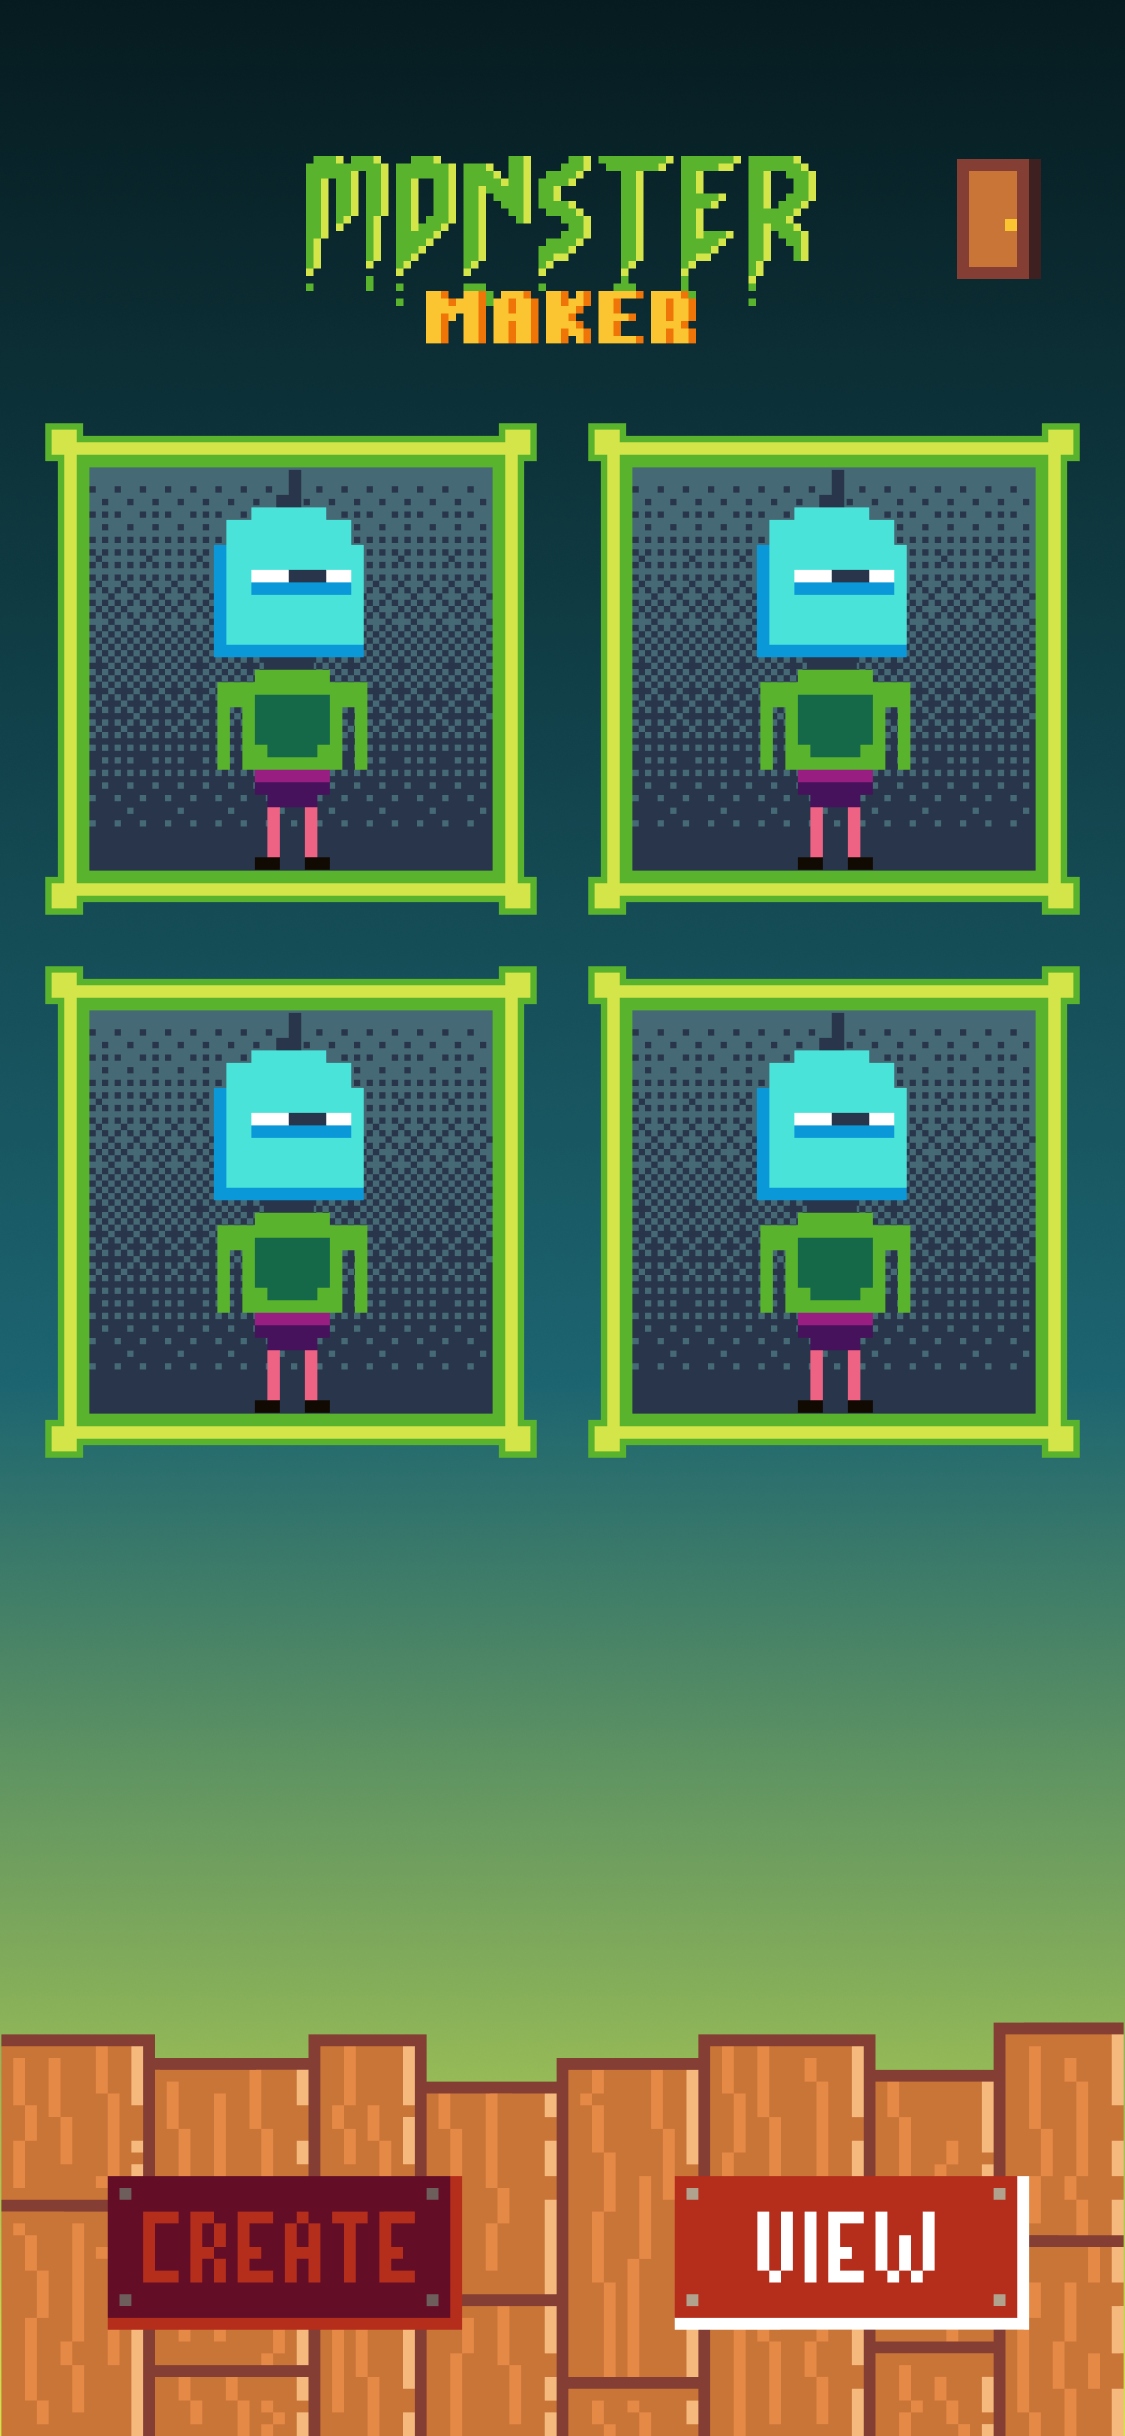
The View page in Monster Maker exemplifies showing Monster Maker NFTs held by the connected wallet
During development, you always can query your NFT with fcl.query. Here is an example:
-
Query cadence
_79import NonFungibleToken from 0xNonFungibleToken_79import MonsterMaker from 0xMonsterMaker_79import MetadataViews from 0xMetadataViews_79_79access(all) struct Monster {_79access(all) let name: String_79access(all) let description: String_79access(all) let thumbnail: String_79access(all) let itemID: UInt64_79access(all) let resourceID: UInt64_79access(all) let owner: Address_79access(all) let component: MonsterMaker.MonsterComponent_79_79init(_79name: String,_79description: String,_79thumbnail: String,_79itemID: UInt64,_79resourceID: UInt64,_79owner: Address,_79component: MonsterMaker.MonsterComponent_79) {_79self.name = name_79self.description = description_79self.thumbnail = thumbnail_79self.itemID = itemID_79self.resourceID = resourceID_79self.owner = owner_79self.component = component_79}_79}_79_79access(all) fun getMonsterById(address: Address, itemID: UInt64): Monster? {_79_79if let collection = getAccount(address).capabilities.get<&MonsterMaker.Collection>(MonsterMaker.CollectionPublicPath).borrow() {_79_79if let item = collection.borrowMonsterMaker(id: itemID) {_79if let view = item.resolveView(Type<MetadataViews.Display>()) {_79let display = view as! MetadataViews.Display_79let owner: Address = item.owner!.address!_79let thumbnail = display.thumbnail as! MetadataViews.HTTPFile_79_79return Monster(_79name: display.name,_79description: display.description,_79thumbnail: thumbnail.url,_79itemID: itemID,_79resourceID: item.uuid,_79owner: address,_79component: item.component_79)_79}_79}_79}_79_79return nil_79}_79_79access(all) fun main(address: Address): [Monster] {_79let account = getAccount(address)_79let collectionRef = account.capabilities.get<&{NonFungibleToken.Collection}>(MonsterMaker.CollectionPublicPath).borrow()_79?? panic("The account with address "_79.concat(address.toString)_79.concat(" does not have a NonFungibleToken Collection at ")_79.concat(MonsterMaker.CollectionPublicPath.toString())_79.concat(". Make sure the account address is correct and is initialized their account with a MonsterMaker Collection!"))_79_79let ids = collectionRef.getIDs()_79_79let monsters : [Monster] = []_79_79for id in ids {_79if let monster = getMonsterById(address: address, itemID: id) {_79monsters.append(monster)_79}_79}_79_79return monsters_79}
_10let nftList = try await fcl.query(script: cadenceScript,_10 args: [.address(address)])_10 .decode([NFTModel].self)
External Resources
FCL Swift
FCL Swift is the iOS native SDK for FCL. This SDK is integrated into the Monster Maker sample.
https://github.com/Outblock/fcl-swift
FCL Android
FCL Android is the Android native SDK for FCL.
https://github.com/Outblock/fcl-android
FCL Wallet Connect 2.0
One of the easiest ways to connect to a wallet via a mobile native dApp is through Flow's new support for Wallet Connect 2.0. This is the pattern that Monster Maker uses to connect to the Flow Wallet. For more information on FCL Wallet Connect 2.0, check out this page:
How to Build a Native iOS Dapp
The Agile Monkeys has written a very comprehensive guide on how to build a native mobile application on iOS and interface with fcl-swift. Found here: