Authentication Integration Guide
Crossmint provides a comprehensive user management solution tightly integrated with all other Crossmint products. Authenticate users with Web3 or traditional sign-in methods, with seamless wallet creation and unified identity management.
Why this matters:
- Unified identity system: Single user account across your backend and Web3 app.
- Multiple auth methods: Email OTP, social logins, wallet connections, and Farcaster.
- Automatic wallet creation: Optionally create or link wallets with user accounts.
- Drag and drop integration: Setup in under five minutes.
🎯 Available authentication methods
1. Email OTP authentication
Passwordless sign-in with one-time codes delivered to the user's email.
- No passwords required
- Secure and user-friendly
- Automatic account creation
2. Social account authentication
Sign in with popular social platforms:
- Apple
- X (Twitter)
- And more
3. Farcaster integration
Use the Sign In With Farcaster (SIWF) standard
- Web3-native authentication
- Decentralized identity support
4. External wallet authentication
Connect with crypto wallets for Web3 authentication:
- MetaMask
- WalletConnect
- Flow wallets
- And other Web3 wallets
Prerequisites
Make sure you have:
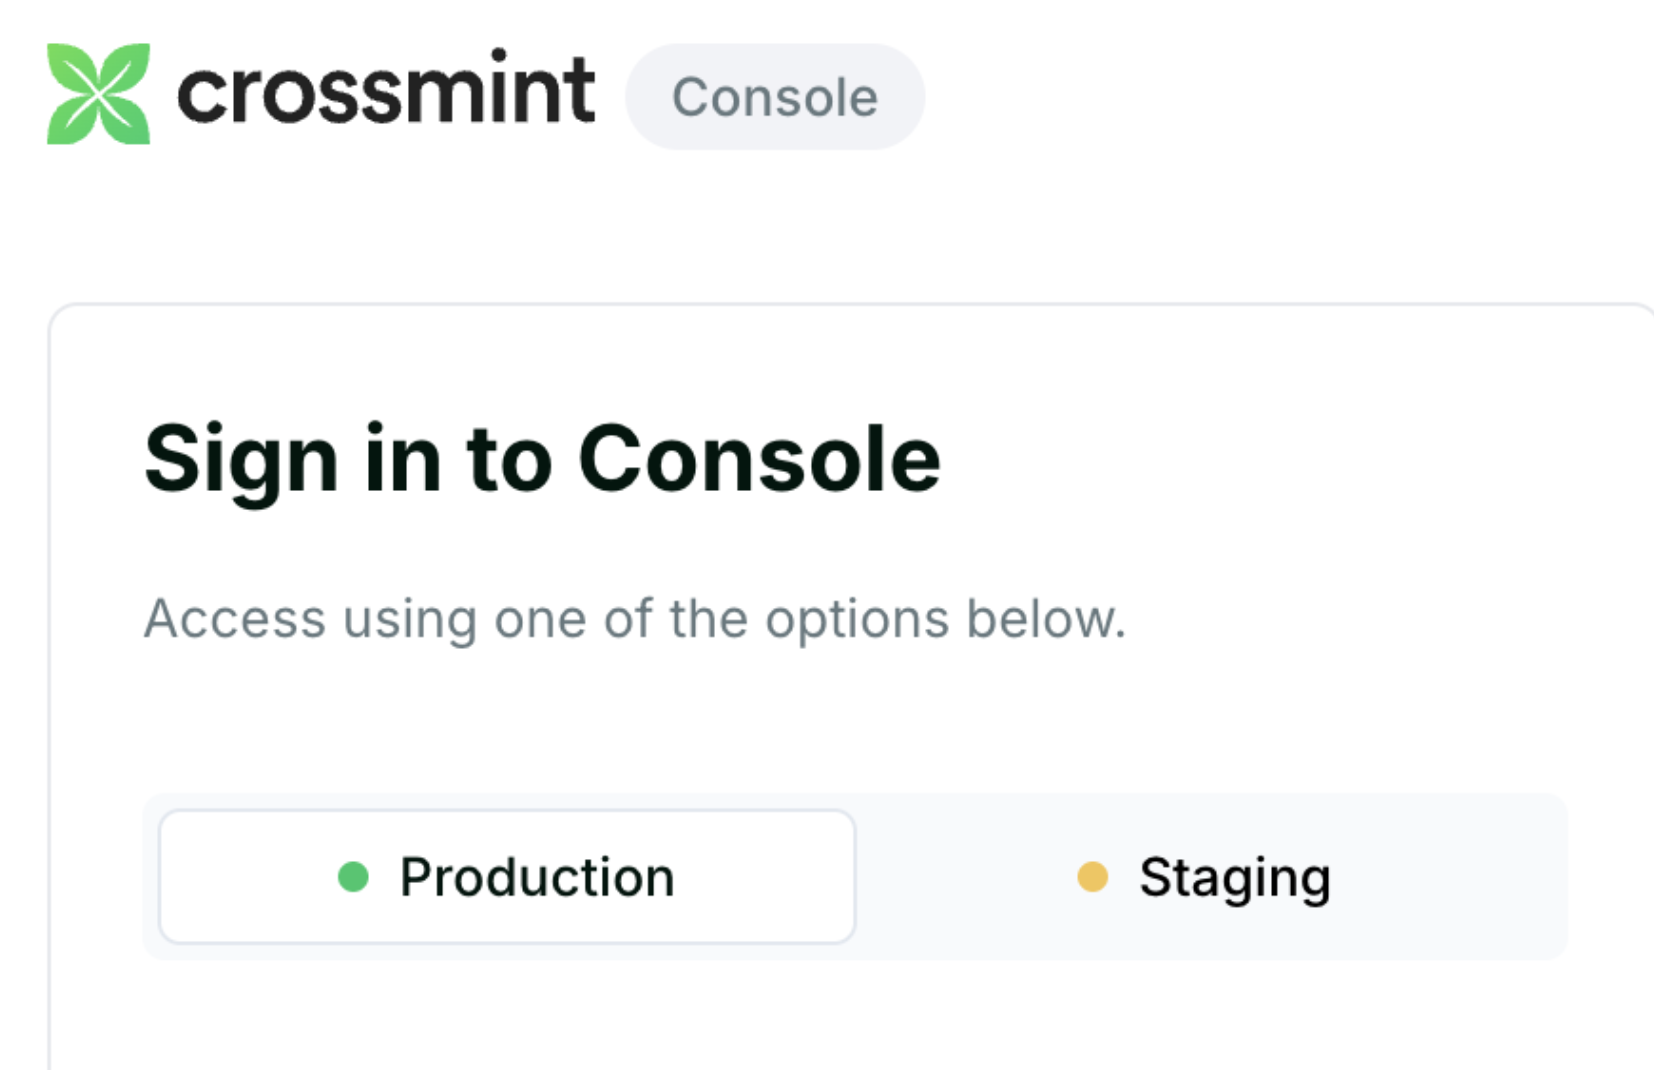
Crossmint account:
- Crossmint Console account
- Client API key with authentication scopes
React/Next.js project:
- React 16.8+ or Next.js 13+
- TypeScript support (recommended)
Technical knowledge:
- Basic React hooks and state management
- Understanding of authentication flows
Quick start
Step 1: install the SDK
_10npm i @crossmint/client-sdk-react-ui
Step 2: add crossmint providers
_17"use client";_17_17import {_17 CrossmintProvider,_17 CrossmintAuthProvider,_17 CrossmintWalletProvider_17} from "@crossmint/client-sdk-react-ui";_17_17export function Providers({ children }: { children: React.ReactNode }) {_17 return (_17 <CrossmintProvider apiKey="<crossmint-client-api-key>">_17 <CrossmintAuthProvider>_17 {children}_17 </CrossmintAuthProvider>_17 </CrossmintProvider>_17 );_17}
Step 3: create authentication component
_39"use client";_39_39import { useAuth } from "@crossmint/client-sdk-react-ui";_39_39export function AuthButton() {_39 const { login, logout, user, jwt } = useAuth();_39_39 return (_39 <div className="flex gap-4">_39 {user == null ? (_39 <button_39 type="button"_39 onClick={login}_39 className="bg-blue-500 text-white font-bold py-2 px-4 rounded"_39 >_39 Login_39 </button>_39 ) : (_39 <button_39 type="button"_39 onClick={logout}_39 className="bg-black text-white font-bold py-2 px-4 rounded border-2 border-blue-500"_39 >_39 Logout_39 </button>_39 )}_39 _39 {/* Display user information */}_39 <div className="user-info">_39 <p>User ID: {user?.userId}</p>_39 <p>Email: {user?.email ?? "None"}</p>_39 <p>Phone: {user?.phoneNumber ?? "None"}</p>_39 <p>Farcaster: {user?.farcaster?.username ?? "None"}</p>_39 <p>Google: {user?.google?.displayName ?? "None"}</p>_39 <p>JWT: {jwt}</p>_39 </div>_39 </div>_39 );_39}
Environment configuration
_10// Use environment-specific API keys_10const crossmintConfig = {_10 apiKey: process.env.NODE_ENV === 'production' _10 ? process.env.CROSSMINT_PROD_API_KEY_10 : process.env.CROSSMINT_STAGING_API_KEY,_10 environment: process.env.NODE_ENV === 'production' ? 'production' : 'staging'_10};
Production deployment
1. Create production account
-
Create a developer account on the Production Console.
-
Complete account verification and KYB process.
2. Configure production API keys
- Create a production client API key.
Navigate to Integrate > API Keys
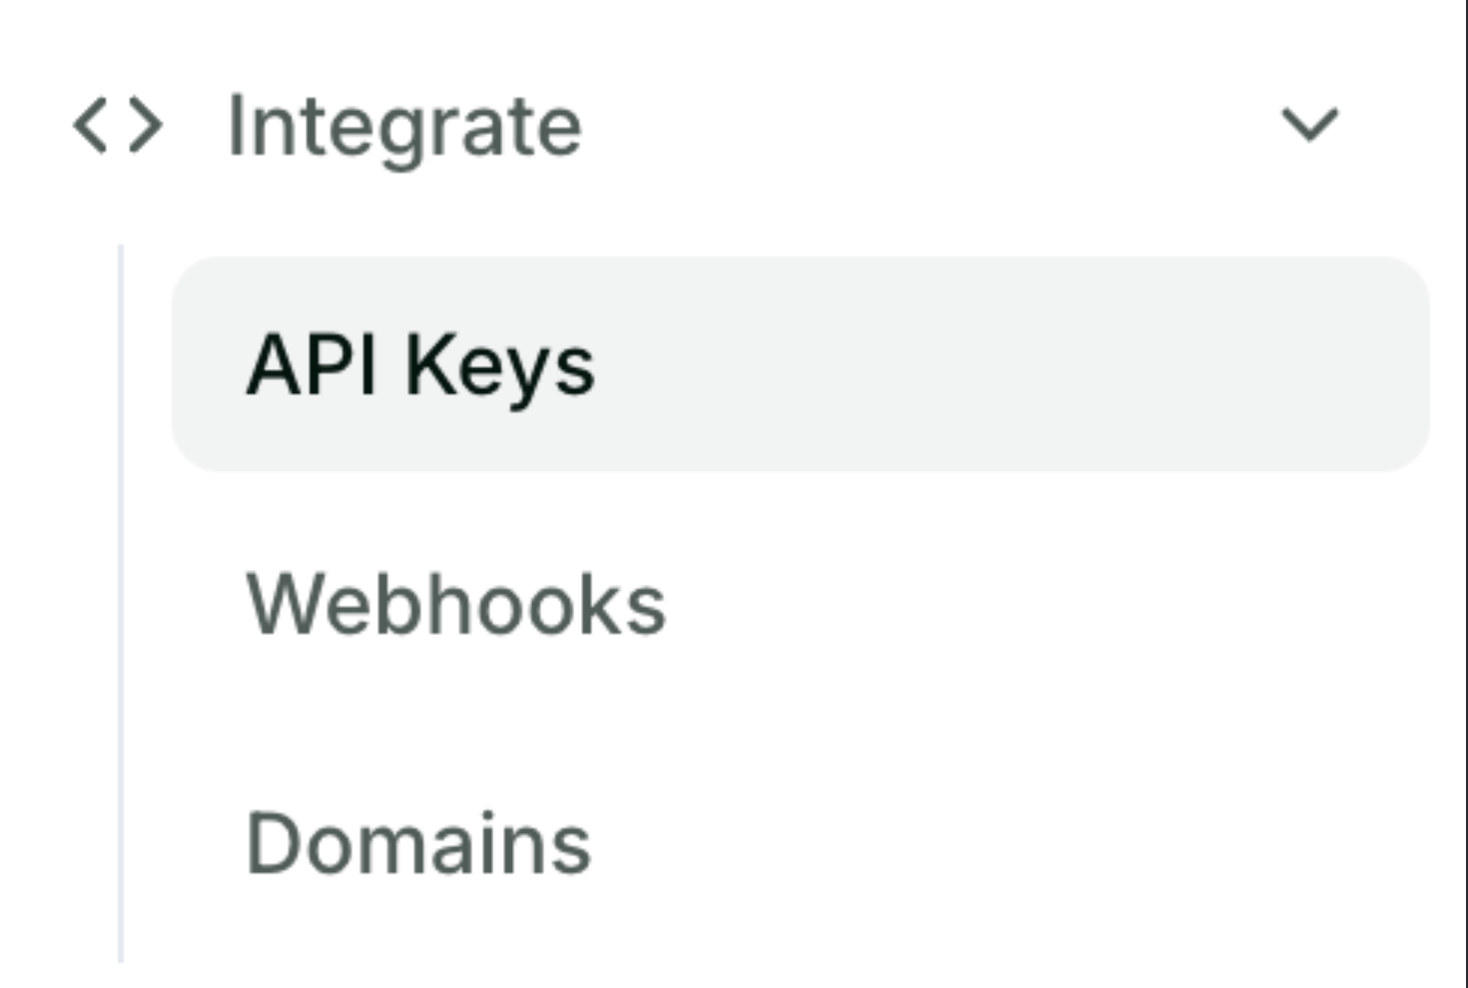
- Activate required scopes:
users.createusers.readwallets.readwallets.create
3. Update environment variables
_10# Production_10CROSSMINT_API_KEY=your_production_client_api_key_10CROSSMINT_ENVIRONMENT=production_10_10# Staging (for testing)_10CROSSMINT_API_KEY=your_staging_client_api_key_10CROSSMINT_ENVIRONMENT=staging
4. Test authentication flow
_12// Test authentication in staging first_12const testAuth = async () => {_12 const { login, user } = useAuth();_12 _12 await login();_12 _12 if (user) {_12 console.log('Authentication successful:', user);_12 // Test wallet creation_12 await createUserWallet();_12 }_12};
🔧 Troubleshooting
Common issues
Authentication fails:
- Verify API key is correct.
- Check authentication scopes are activated.
- Make sure you're using the right environment (staging vs. production)
Wallet creation fails:
- Verify user is authenticated.
- Check wallet creation scopes.
- Ensure proper wallet configuration for Flow.